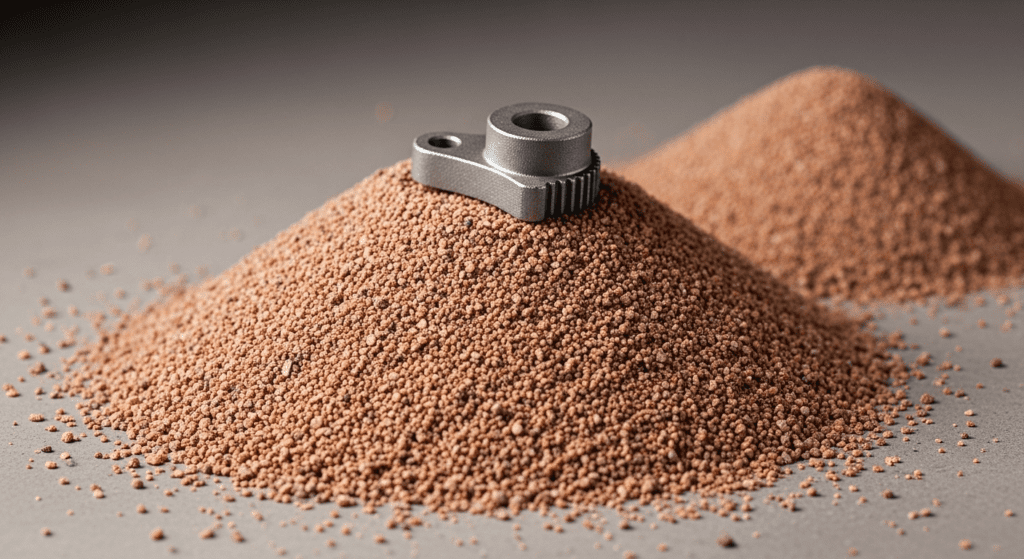
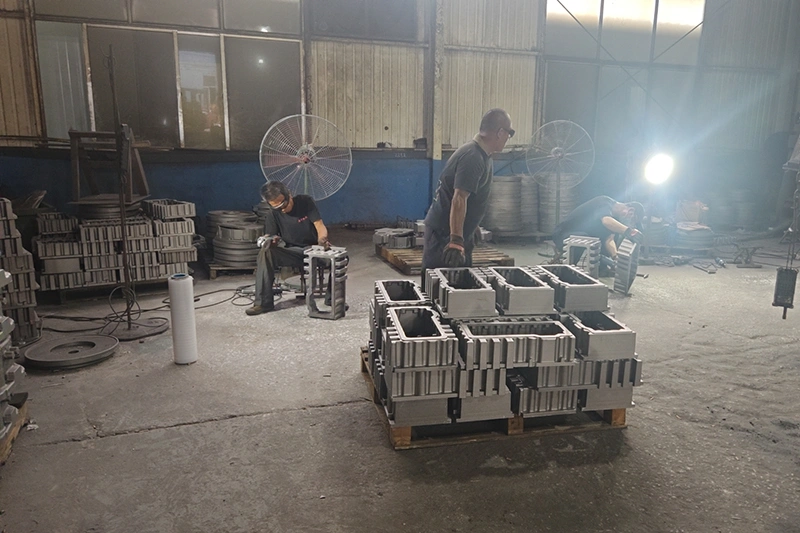
Sand castings are metal parts made by pouring molten metal into sand molds—it’s like making a sandcastle at the beach, except you’re creating a hollow space for liquid metal instead of building towers. The type of sand you choose determines how strong your mold is, how smooth your final part looks, and how quickly you can make it.
Different sand casting sands work better for different projects. Let’s break down the six main types you’ll encounter in any foundry.

Green sand is the workhorse of the casting world—it’s used in about 70% of all sand casting operations. Despite its name, it’s not actually green in color; it’s called “green” because it contains moisture, like green wood that hasn’t been dried yet.
This sand mixture contains silica sand, clay (usually bentonite), water, and sometimes coal dust. The clay acts like glue when wet, holding everything together while you pour the metal.
Green sand’s biggest advantage is that you can reuse it over and over. Just add a bit more water and clay after each casting, mix it up, and you’re ready to go again.
The downside? It doesn’t give you the smoothest surface finish, and the moisture can cause defects if you’re not careful. Think of it like the difference between drawing in wet sand versus dry sand at the beach—wet sand holds its shape better, but it’s messier to work with.
Resin sand, also called no-bake sand, uses chemical binders instead of clay and water to hold the sand together. You mix the sand with liquid resin and a catalyst, and it hardens at room temperature—no heat required.
Think of it like mixing epoxy glue. Part A (the resin) and Part B (the catalyst) combine to create a rock-hard mold in about 24 hours. This casting sand for metal produces incredibly smooth surfaces and holds fine details that green sand can’t match.
The trade-off is cost. Resin sand is more expensive than green sand, and you can’t reuse it as easily. Most foundries use it for medium to large castings where precision matters more than price.
Sodium silicate sand uses water glass (liquid sodium silicate) as its binder. After you shape the mold, you blast it with CO₂ gas, which instantly hardens the sand through a chemical reaction.
It’s like having instant-setting concrete for sand molds. The CO₂ converts the sodium silicate into a gel that locks the sand grains together in seconds.
This method gives you strong molds quickly, making it perfect for cores (the parts that create hollow sections in castings). You don’t need any heating equipment, just a CO₂ tank.
The main drawback is that sodium silicate molds are harder to break apart after casting. The sand also doesn’t recycle well, so you’ll generate more waste than with green sand.
Shell sand creates thin, hollow molds that look like shells—hence the name. You coat sand with a thermosetting resin, then heat it against a hot metal pattern at about 450°F.
The process works like making a waffle. The resin-coated sand touches the hot pattern and immediately forms a hard shell about 1/4 to 1/2 inch thick.
Shell molds give you excellent surface finish and dimensional accuracy. They’re perfect for small to medium castings that need precise details, like automotive engine parts.
The equipment investment is higher because you need heated patterns and curing ovens. But if you’re making thousands of the same part, the quality and speed make it worthwhile.
Dry sand molds start as green sand molds that you then bake in an oven at 300-650°F. The heat drives out all the moisture and strengthens the clay binder.
Think of it like the difference between Play-Doh and hardened clay. The baking process transforms a fragile mold into something much more durable.
Dry sand molds handle molten metal better than green sand because there’s no moisture to create steam. This means fewer defects and better surface finish on your castings.
The obvious downside is time and energy cost. Baking large molds can take hours and requires significant oven space. Most foundries reserve this method for large, complex castings where quality is critical.
Loam sand contains about 50% sand and 50% clay, creating a mixture with the consistency of modeling clay. You typically apply it as a coating over brick or metal frameworks rather than using it for the entire mold.
This method is like plastering a wall. You build up layers of loam mixture on a skeleton structure, smoothing each layer to create your mold cavity.
Loam molds excel at creating very large castings—think ship propellers or massive machine bases. The clay-rich mixture gives you excellent control over the mold shape.
The process is labor-intensive and requires skilled workers. It’s also slow, as each layer needs time to dry. Modern foundries rarely use pure loam molding, though the technique still appears in specialized applications.
Green sand is the best starting point for beginners. It’s forgiving, inexpensive, and doesn’t require special equipment beyond basic mixing tools. You can practice repeatedly without worrying about wasting expensive materials.
Generally, you shouldn’t mix different sand types as they have incompatible binders and curing methods. However, you can use different sands for different parts of the same casting—like shell sand for detailed areas and green sand for the rest.
Green sand can be reused 20-30 times with proper reconditioning. Resin and sodium silicate sands typically can’t be reused directly but can be reclaimed through thermal or mechanical processes that remove the binders.
Green sand casting is relatively eco-friendly since the sand is reusable and contains natural materials. Chemical-bonded sands like resin and sodium silicate have more environmental concerns due to emissions and disposal requirements.

