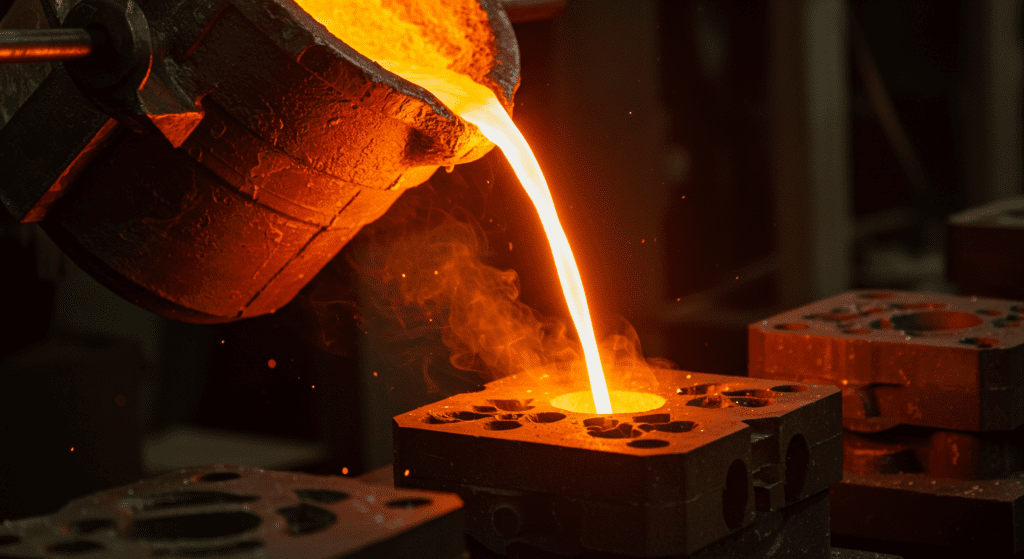
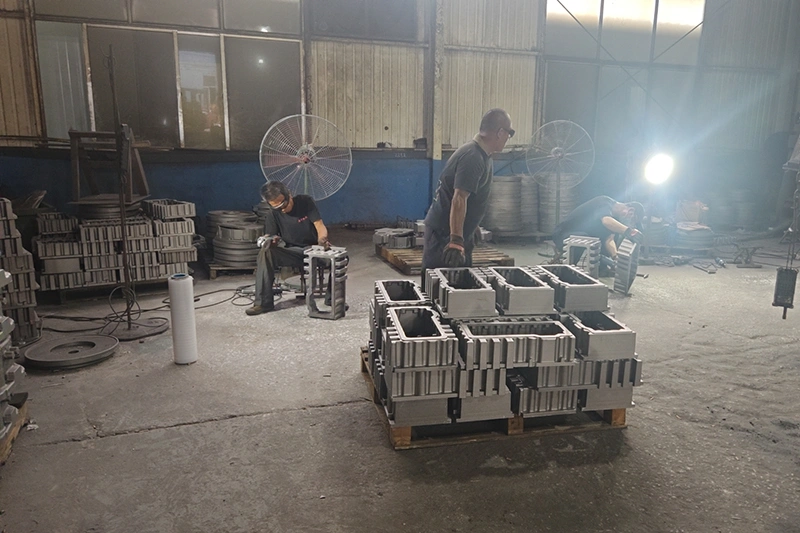
Investment casting delivers precision metal parts with predictable tolerances across various dimensions and geometric properties. Standard linear tolerances range from ±0.005″ to ±0.060″, while geometric tolerances control form, orientation, and location to ensure proper fit and function.

In any manufacturing process, it is impossible to produce parts with exact nominal dimensions consistently. Manufacturing tolerances refer to the permissible range of variation in a dimension of a manufactured part. They represent the acceptable deviation from the desired physical dimensions that allows the part to still meet its quality standards and perform its intended function correctly and safely.
Linear dimensional tolerances define the permissible variation for a linear distance between two points on a casting. A commonly cited rule of thumb, often associated with guidelines from the Investment Casting Institute (ICI) and general foundry practice, is a tolerance of ±0.010 inches for the first inch (or ±0.25 mm for the first 25.4 mm) of any dimension.
For each additional inch, an incremental tolerance of ±0.003 to ±0.005 inches (or ±0.08 mm to ±0.13 mm per additional 25.4 mm) is typically added. For example, a 3-inch dimension might have a standard tolerance of ±0.010 inches (for the first inch) + 2×±0.003 inches = ±0.016 inches.
| Dimension Range (inches) | Typical Tolerance (inches) | Dimension Range (mm) | Typical Tolerance (mm) |
|---|---|---|---|
| Up to 1″ | 0.010 | Up to 25.4 mm | 0.25 |
| Over 1″ to 2″ | 0.013 | Over 25.4 to 50.8 mm | 0.33 |
| Over 2″ to 3″ | 0.016 | Over 50.8 to 76.2 mm | 0.41 |
| Over 3″ to 4″ | 0.019 | Over 76.2 to 101.6 mm | 0.48 |
| Over 4″ to 5″ | 0.022 | Over 101.6 to 127.0 mm | 0.56 |
| Over 5″ to 6″ | 0.025 | Over 127.0 to 152.4 mm | 0.64 |
| Each additional inch add | 0.003 – 0.005 | Each additional 25.4 mm add | 0.08 – 0.13 |
Geometric tolerances control the form, orientation, and location of features beyond basic dimensions. They ensure parts fit and function correctly in assemblies. These are often more challenging to control and predict than linear tolerances because they are highly susceptible to non-uniform shrinkage, thermal distortion during cooling, and the mechanical constraints of the mold and the part’s own geometry.
This defines the deviation of a surface from a perfect plane. Investment cast surfaces are prone to some degree of “dishing” or concavity, especially on larger, unsupported flat areas, due to volumetric shrinkage of the wax and metal during cooling. Typical as-cast flatness tolerance is often cited as 0.005 inches per inch (0.005 mm/mm or 0.127 mm per 25 mm) of length or width.
This controls how much a feature, such as an edge or an axis, can deviate from a perfectly straight line. Longer castings are more susceptible to bending or warping during cooling. A common guideline for as-cast straightness is ±0.005 inches per inch of length (±0.005 mm/mm). Constant sections might experience an axial bow of approximately 0.024 inches per foot (2 mm/m).
This measures how closely a circular feature conforms to a perfect circle. Deviations can result in oval, oblong, or other non-circular shapes. The Investment Casting Institute (ICI) suggests a typical roundness of ±0.015 inches on a 1-inch diameter feature (total 0.030 inches TIR). For round hollow tubing, tolerances like 0.006 inches Total Indicator Reading (TIR) for diameters up to 1 inch are reported.
Concentricity controls how well the centers of cylindrical features align with each other. For features where the length does not exceed twice the diameter, concentricity can often be held within 0.005 inches per inch of separation between the features.
Parallelism ensures that two surfaces maintain a consistent distance from each other. Maintaining parallelism can be challenging for designs with unsupported prongs or yoke features due to volumetric shrinkage of the supporting structure. General parallelism might be in the order of 0.3% of the overall dimension.
Perpendicularity controls how close to 90 degrees two surfaces or features meet. Investment casting typically achieves perpendicularity tolerances of 0.005 to 0.015 inches per inch.
This defines the permissible variation of an angle between two features from its specified value. As-cast angular tolerances can range from ±0.5 degrees for well-supported positions to ±2 degrees where distortion is more likely. Some general specifications cite ±0.5 degrees for all angles.
Beyond standard dimensions and geometric controls, certain specialized tolerances apply to specific features common in cast parts.
The tolerance on wall thickness is often treated as an exception to standard linear tolerances, with a minimum absolute tolerance frequently specified, such as ±0.020 inches (±0.51 mm). For metric dimensions, tolerances like ±0.30 mm for walls less than 6 mm thick, and ±0.50 mm for walls thicker than 6 mm are reported.
The ratio between the thickest and thinnest sections should stay below 4:1 when possible. Higher ratios can cause cooling problems and internal stresses that lead to warping or cracking.
Generous fillet and corner radii are highly recommended in investment casting design as they reduce stress concentrations in the part, improve metal flow during casting, and enhance the aesthetic appearance.
Minimum commonly achievable radii and fillets are often cited as 0.010 inches (0.25 mm). However, designers are encouraged to use the largest practical radii, a minimum of 0.030 inches (0.76 mm) for outside corners and 0.060 inches (1.52 mm) for fillet radii where possible.
As-cast surface finishes from investment casting are smoother than many other casting methods. Typical as-cast surfaces range from 63-125 RMS (Root Mean Square) microinches.
| Alloy Category | Typical As-Cast Surface Roughness (Ra ) | Typical As-Cast Surface Roughness (RMS ) |
|---|---|---|
| Aluminum Alloys | 1.5 – 2.5 | 60 – 100 |
| Copper Alloys | 1.5 – 2.5 | 60 – 100 |
| Carbon & Low Alloy Steel | 2.2 – 3.2 | 90 – 125 |
| Stainless Steels (300 Series) | 2.2 – 3.2 | 90 – 125 |
| Stainless Steels (400 Series) | 2.5 – 3.2 | 100 – 125 |
| Cobalt-Chrome Alloys | 2.0 – 2.5 | 80 – 100 |
| General Investment Casting | 1.6 – 3.2 | 63 – 125 |

