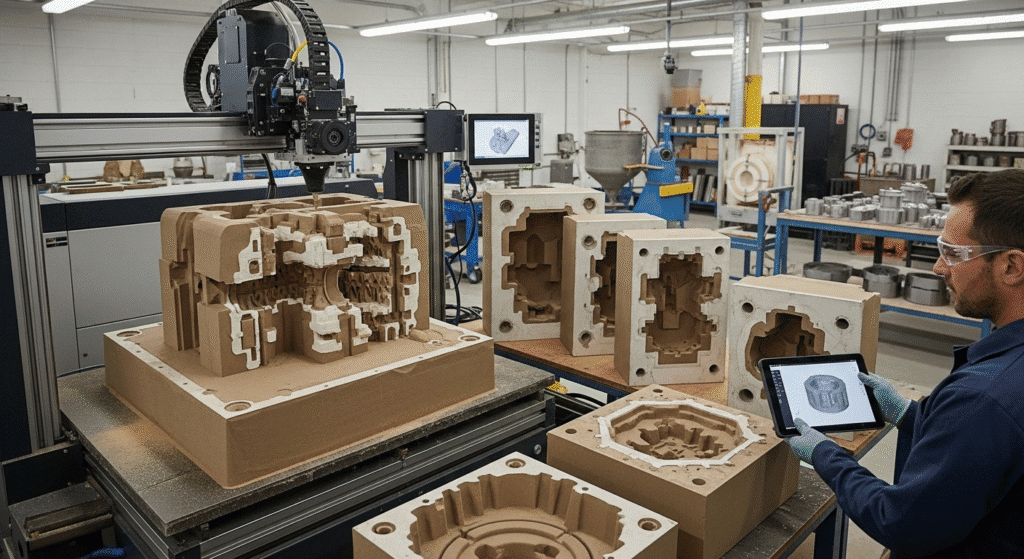
3D printer sand casting combines modern 3D printing technology with the ancient art of metal casting to create complex metal parts affordably. Instead of carving patterns by hand or machining them from wood, you 3D print your pattern and use it to create a sand mold for pouring molten metal.
Think of it like making a sandcastle with a bucket at the beach. The 3D printed part is your bucket (the pattern), the sand mold is your sandcastle shape, and the molten metal fills that shape once you remove the bucket. You get a perfect metal copy of your original 3D printed design.

3D printing solves the biggest challenge in traditional sand casting: creating the pattern. Traditional patterns require expensive CNC machining or hours of skilled hand-carving, especially for complex shapes with curves and undercuts.
With 3D printing, you can create intricate patterns in hours rather than weeks. You can print impossible geometries that would be nearly impossible to carve by hand. Plus, if you need to make changes, you just modify the digital file and print again.
The cost savings are dramatic. A machined aluminum pattern might cost $500-2000, while a 3D printed pattern costs $10-50 in materials.
Before starting, gather these essential materials and tools:
Create your 3D model with draft angles of at least 2-3 degrees on all vertical surfaces. This slight taper lets you remove the pattern from the sand without damaging the mold. Add 2-3% to all dimensions to account for metal shrinkage during cooling.
Print your pattern at 0.2mm layer height or finer for a smooth surface finish. The smoother your pattern, the smoother your final metal casting will be. For FDM printers, print with 100% infill to prevent the pattern from breaking when you pack sand around it.
Sand your 3D printed pattern with 220-grit sandpaper to remove layer lines. Apply several thin coats of primer or wood filler, sanding between coats, until the surface is completely smooth.
Seal the pattern with clear spray lacquer or polyurethane. This coating prevents the sand from sticking to your pattern and makes removal much easier.
Place your pattern on a flat board and position the bottom half of your flask (called the drag) around it. Dust the pattern lightly with parting powder to prevent sticking.
Sift fine facing sand directly onto the pattern to capture fine details. Then pack backing sand firmly around the pattern, building up layers until the drag is completely filled. Level the sand flush with the top of the drag.
Flip the drag over and dust the exposed sand surface with parting powder. Place the top half of the flask (the cope) on top and insert a tapered sprue pin where you’ll pour the metal.
Pack sand into the cope the same way you did the drag. Create small vent holes with a wire to allow gases to escape during pouring.
Carefully separate the cope and drag. Gently tap around your 3D printed pattern to loosen it, then lift it straight out. The sand should hold the exact shape of your pattern.
Cut a pouring basin at the top of the sprue hole. Carve small channels (gates) from the sprue to your mold cavity if needed.
Reassemble the cope and drag, making sure they align perfectly. Place the mold on a bed of loose sand to catch any spills.
Heat your metal to about 100°F above its melting point. For aluminum, that’s around 1,300°F. Pour steadily and continuously into the sprue until metal appears in the vent holes.
Let the casting cool for at least 20 minutes for small parts, or several hours for large ones. Break away the sand mold and remove your metal casting.
Cut off the sprue and any gates with a hacksaw. File, grind, and sand your casting to remove any rough edges or imperfections.
Sand mold collapses when removing pattern: Your sand is too dry or not packed firmly enough. Add more water to green sand or pack more firmly.
Metal doesn’t fill the entire mold: Your metal wasn’t hot enough, or your vents are inadequate. Increase pouring temperature and add more venting.
Rough surface finish on casting: Your pattern wasn’t smooth enough. Spend more time sanding and sealing your 3D printed pattern.
PLA works best for beginners because it’s easy to print and sand smooth. Resin prints give the finest detail but are more brittle and expensive.
Yes, a well-sealed pattern can create dozens of molds. Store it carefully between uses to prevent warping or damage.
Aluminum is ideal for beginners because it melts at relatively low temperatures (1,220°F) and flows well into detailed molds.
Basic setup costs around $200-500, including a small furnace, safety gear, and casting supplies. You can build your own furnace for under $50.
It involves molten metal at extreme temperatures, so yes. Always wear protective equipment and work in a well-ventilated area away from flammables.
