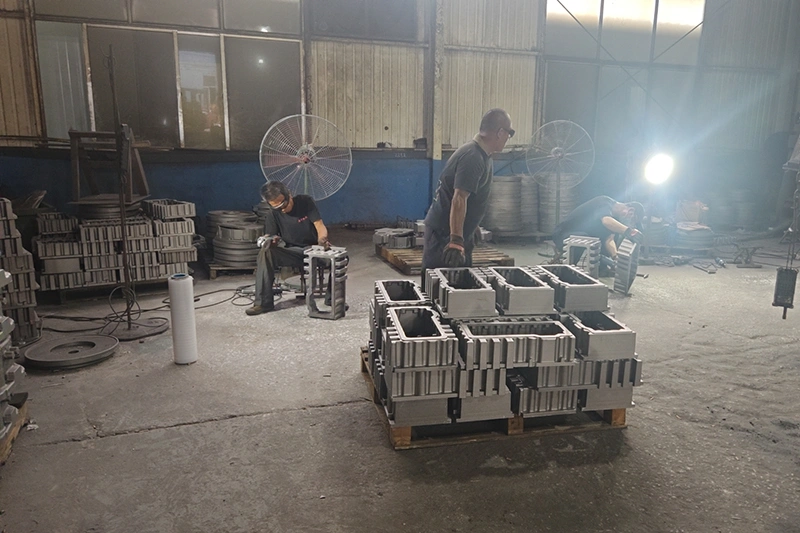
A design engineer recently specified +/-0.4 mm tolerances for a sand casting. The foundry’s response was direct: that expectation is unreasonable for standard sand casting. Typical achievable tolerances run closer to +/-1 mm, and understanding this reality before you submit drawings saves weeks of back-and-forth revisions.
Before designing the pattern, consider that sand casting has specific geometric constraints. Draft angles enable pattern removal. Wall thickness affects fill and solidification. Tolerances depend on dimension, material, and where features cross the parting line. This guide provides the specification values you need to design parts that foundries can actually produce.
Draft angles are non-negotiable in sand casting. Without adequate taper on vertical walls, the pattern tears the sand mold during removal, destroying the cavity. The draft angle rule of thumb is 2 degrees for external surfaces, but actual requirements depend on feature height and whether the surface is internal or external.
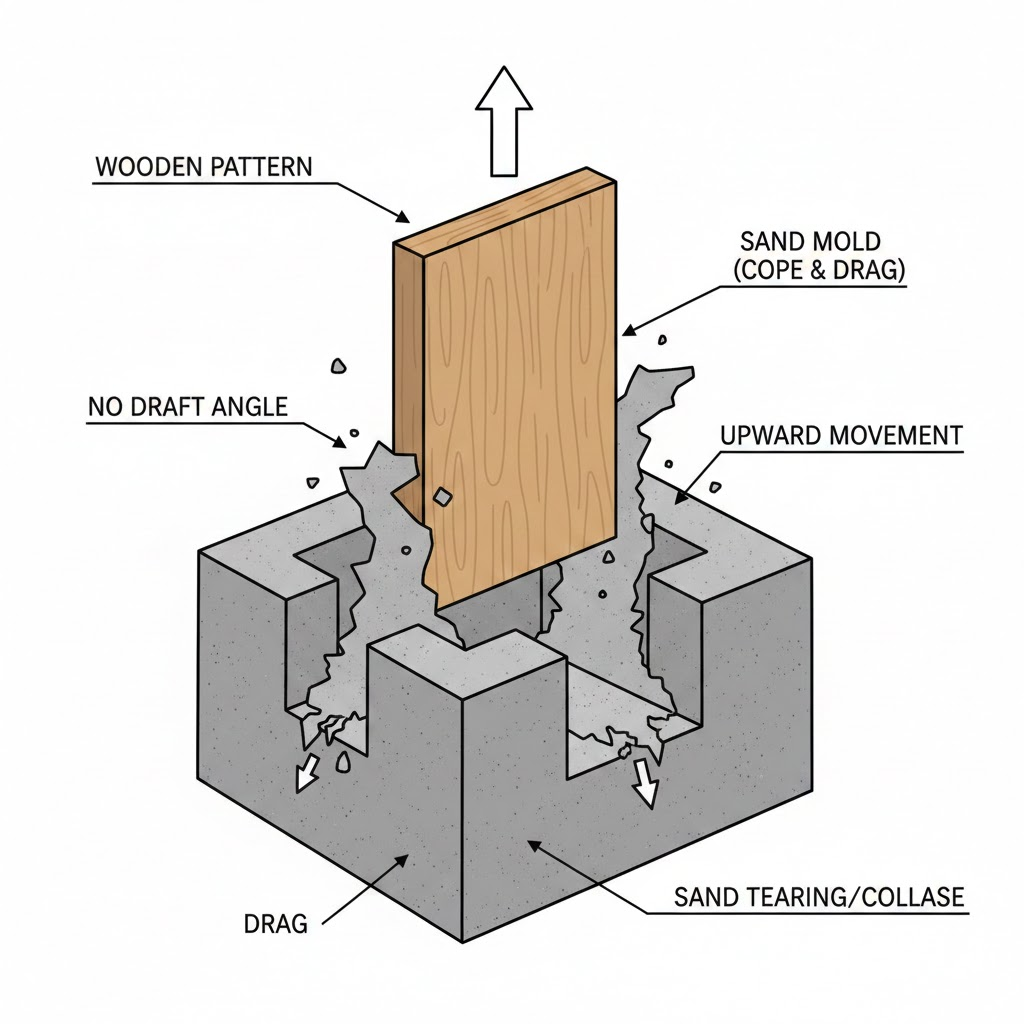
The fundamental formula: each degree of draft adds 0.017 inches (0.43 mm) per inch of draw depth to the part dimension. A 4-inch tall boss with 2 degrees of draft will be 0.136 inches wider at the base than at the top. Account for this dimensional change in your design.
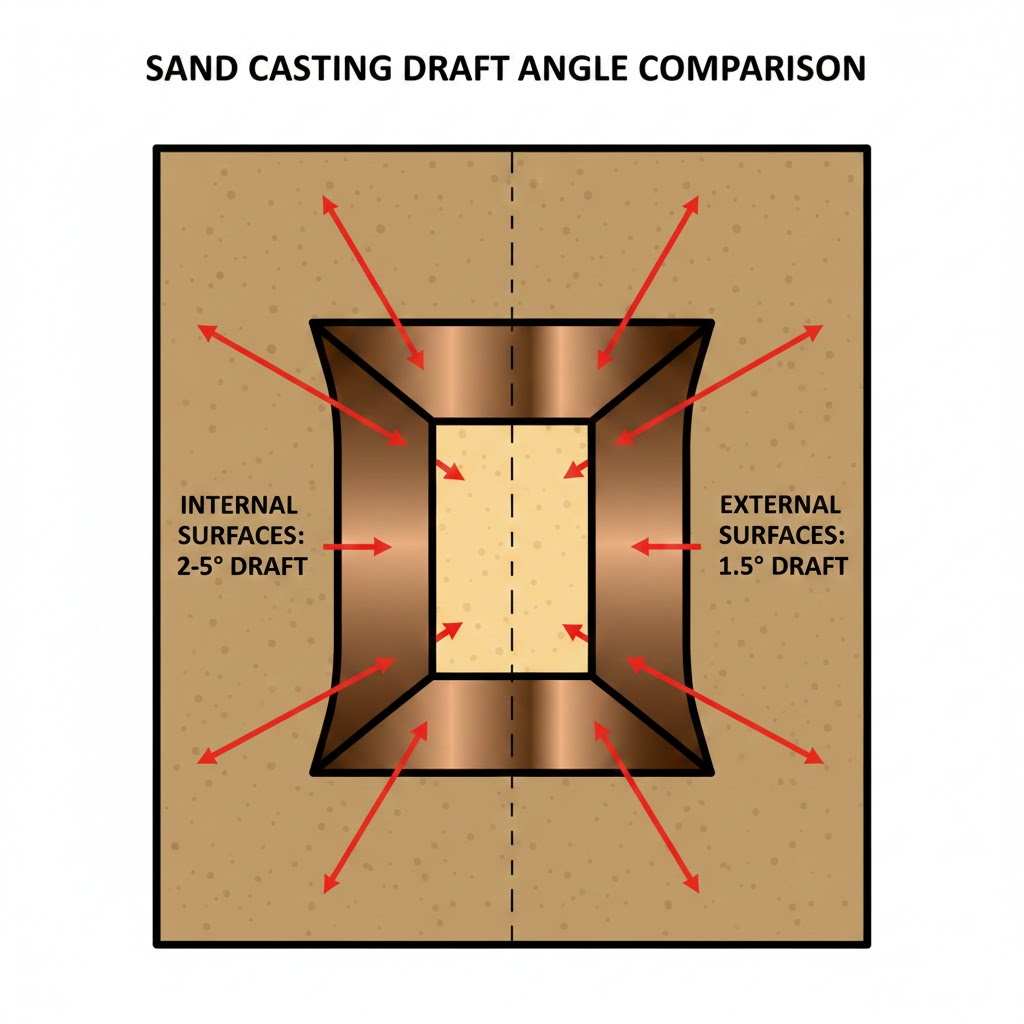
Internal features require more draft than external walls. When the mold closes around a core, the metal contacts internal surfaces longer during solidification. This extended contact increases friction and requires additional taper for clean removal.
For casting draft angle fundamentals, external surfaces typically need 1.5-3.0 degrees while internal cores require 2.0-5.0 degrees. Aluminum castings often need the higher end of these ranges due to the metal’s tendency to grip the mold.
Short features can get away with minimum draft. Tall features cannot. For every 10 mm of vertical height above 30 mm, add 0.25-0.5 degrees per side.
| Feature Height | Minimum Draft | Recommended Draft |
|---|---|---|
| Under 10 mm | 1.0 deg | 1.5 deg |
| 10-30 mm | 1.5 deg | 2.0 deg |
| 30-50 mm | 2.0 deg | 2.5 deg |
| 50-100 mm | 2.5 deg | 3.0 deg |
| Over 100 mm | 3.0+ deg | Consult foundry |
I recommend specifying the recommended values rather than minimums. The cost of extra draft is nearly zero, but the cost of mold damage from insufficient draft is a scrapped pattern and delayed production.
Wall thickness requirements vary by material. A thickness that works for aluminum will cause defects in steel. Using generic minimums without considering your specific alloy leads to either cold shuts from premature solidification or hot tears from uneven cooling.
| Material | Min Wall (Green Sand) | Notes |
|---|---|---|
| Aluminum Alloys | 3 mm (0.12 in) | Theoretical 2.5 mm possible but risky |
| Gray Iron | 4-6 mm (0.16-0.24 in) | Lower for small parts |
| Ductile Iron | 5-7 mm (0.20-0.28 in) | Graphite nodules need room to form |
| Carbon Steel | 5-6 mm (0.20-0.24 in) | Higher shrinkage demands thicker walls |
| Brass/Bronze | 3-4 mm (0.12-0.16 in) | Good fluidity allows thinner sections |
These are practical minimums for reliable production, not theoretical limits. Thin sections below these values can sometimes be cast with elevated pouring temperatures, but expect higher scrap rates and increased costs.
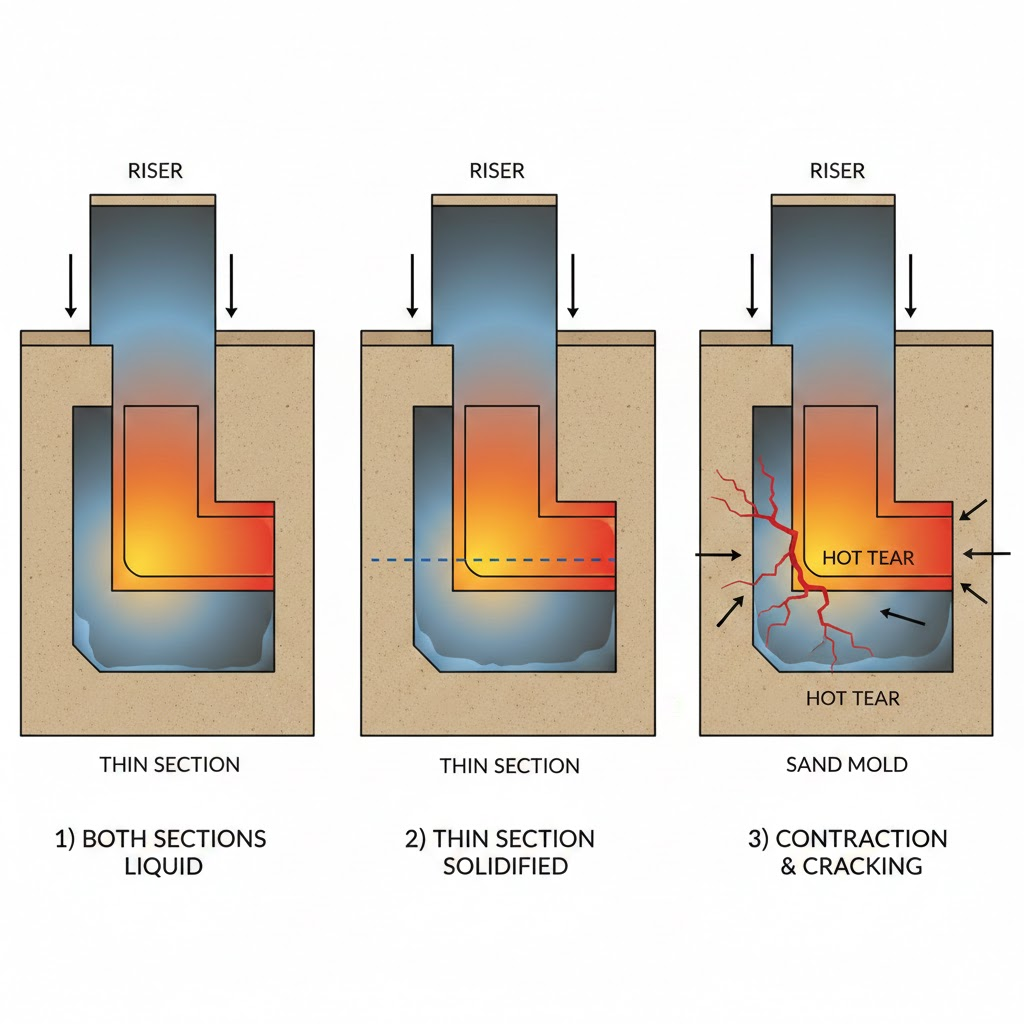
Abrupt thickness changes create stress concentrations during solidification. When adjacent sections have different thicknesses, the thin section solidifies first while the thick section is still liquid. The thick section then contracts against the already-rigid thin section, potentially causing hot tears.
Adjacent wall sections should vary by no more than 20-30%. When you must transition between thick and thin sections, use a taper ratio of at least 1:4. A wall going from 20 mm to 10 mm needs at least 40 mm of transition length.
Ignoring these rules leads to common sand casting defects that could have been prevented at the design stage.
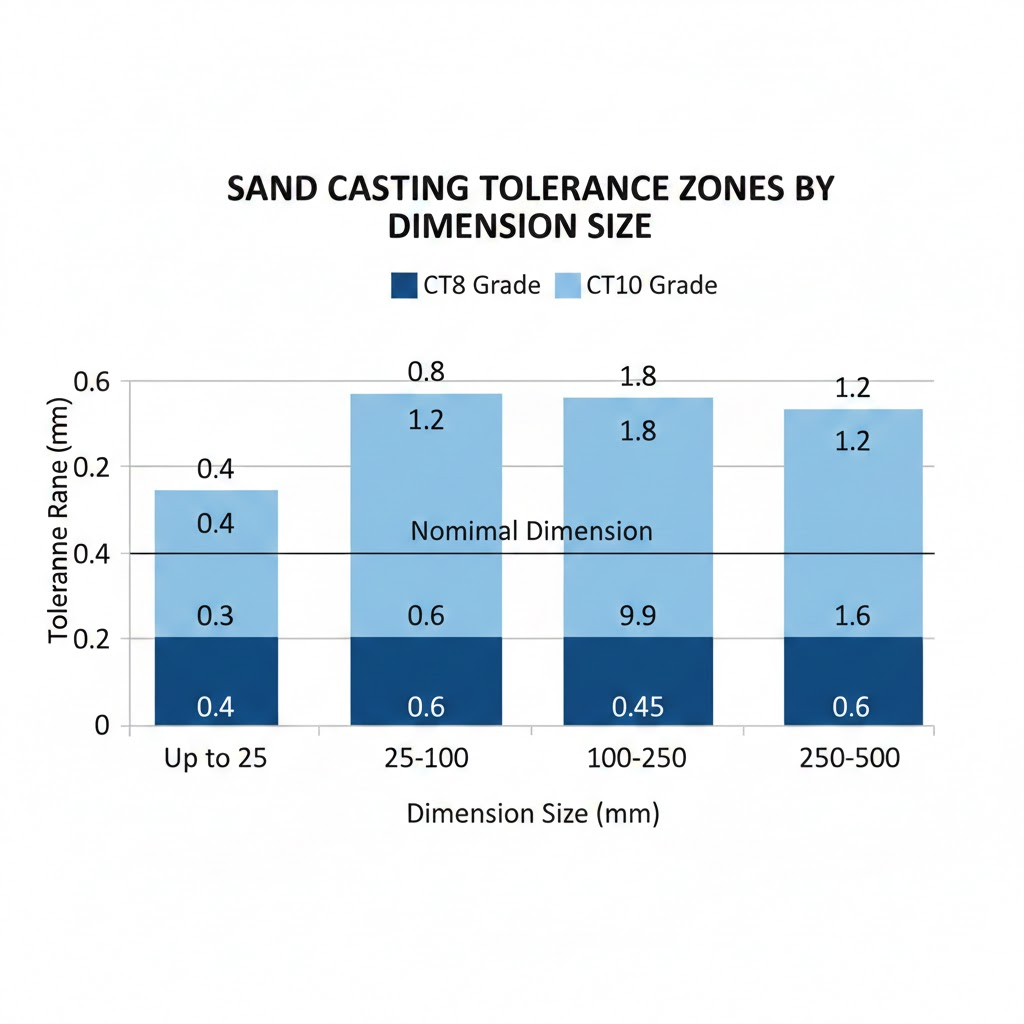
Sand casting tolerances are measured against ISO 8062, which defines Casting Tolerance (CT) grades. Green sand casting typically achieves CT8-CT12, with CT10 representing typical production capability. Expecting better than CT8 from sand casting usually means you need a different process.
Linear tolerance capability depends on the nominal dimension. Larger features have proportionally larger tolerances.
| Dimension Range | CT8 (Achievable) | CT10 (Typical) |
|---|---|---|
| Up to 25 mm | +/- 0.4 mm | +/- 0.7 mm |
| 25-100 mm | +/- 0.6 mm | +/- 1.0 mm |
| 100-250 mm | +/- 0.8 mm | +/- 1.4 mm |
| 250-500 mm | +/- 1.2 mm | +/- 2.0 mm |
The CT8 column represents what well-controlled green sand operations can achieve. Most foundries work at CT10. If your design requires tolerances tighter than CT8 values, plan for machining those features.
Features that cross the parting line face additional tolerance challenges. Mold shift between the cope and drag adds +/-0.5 mm to any dimension that spans the parting line. Design critical features to stay on one side of the parting line when possible.
Parting line mismatch itself should not exceed 0.5 mm (0.020 in) in quality castings. Flash at the parting line runs approximately 0.4 mm (0.015 in) and requires post-processing to remove.
Flatness on as-cast surfaces runs approximately 0.1 mm per 25 mm. Large flat surfaces will not be flat enough for sealing applications without machining.
Pattern makers build shrinkage and machining allowances into the pattern, not the casting. But design engineers need to understand these values to ensure adequate material exists for post-processing.
Shrinkage allowance compensates for metal contraction during cooling. Each material contracts differently:
Steel shrinks the most. A 500 mm steel casting will be 10-12.5 mm smaller than the cavity. The pattern must be oversized accordingly.
Machining allowance depends on part size. The heavier the casting, the more material distortion occurs during cooling, and the more stock you need to machine away to reach final dimensions.
| Part Weight | Machining Allowance |
|---|---|
| Under 5 kg | 1.0-1.5 mm |
| 5-20 kg | 1.5-2.5 mm |
| Over 20 kg | 2.5-3.5 mm |
Specify machining allowance on surfaces that require final machining. Leaving excess stock on non-machined surfaces wastes material and increases casting weight.
Before sending your design to a foundry, verify these parameters:
The probability of holding tight tolerances with castings is not high. Design around casting capabilities rather than fighting them. Features requiring precision should be machined, with adequate stock provided in the casting design.

