Choosing the wrong pattern material or type can add months to your project timeline and thousands to your budget. The pattern creates the mold cavity that shapes your final casting, so every decision here ripples through the entire production process.
This guide covers the pattern types you’ll encounter, how to select materials based on your production volume, and the design allowances that prevent dimensional failures. Whether you’re specifying your first casting or refining an existing design, these fundamentals will help you communicate effectively with your foundry.
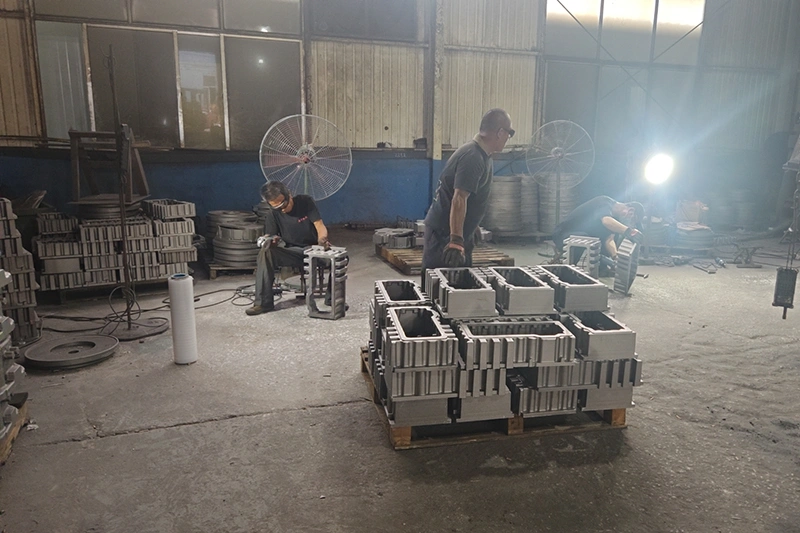
Pattern type selection depends on part geometry, production volume, and molding method. Here’s what works for most applications.
Single-piece patterns work for parts with simple geometries that can be withdrawn from the sand in one direction. Use these for prototypes, low-volume production (under 20 pieces), or parts without undercuts. They’re the fastest and cheapest to make.
Split patterns (also called two-piece patterns) are the workhorse of sand casting. The pattern splits along the parting line, with one half forming the cope and drag of the mold. This handles undercuts and complex geometries that single-piece patterns cannot release. For 80% of casting projects, a split pattern is the right choice.

Match plate patterns mount both pattern halves on opposite sides of a single plate. These suit high-volume production on automated molding machines where cycle time matters. The plate ensures perfect alignment between cope and drag every cycle.
Cope and drag patterns use separate plates for each half, mounted on individual match boards. Use these for larger castings where a single match plate would be unwieldy, or when pattern halves need independent adjustment.
Loose piece patterns contain removable sections that stay in the sand after the main pattern withdraws. The pieces are then extracted through the mold cavity. This handles severe undercuts but requires skilled hand work and slows production.
Before overcomplicating your approach, consider whether a standard split pattern can do the job. The foundry’s experience often reveals simpler solutions than engineers initially imagine.
Pattern material directly affects tooling cost, lead time, and how many castings you can produce before the pattern wears out. Match your material to your annual volume.
Wood remains the default choice for prototypes and low-volume production. Mahogany, cherry, and pine offer different trade-offs between cost and stability.
Use wood for fewer than 50 pieces per year. Tooling costs run 40-60% lower than metal patterns, and skilled pattern makers can produce complex shapes in weeks rather than months.
The limitation is durability. Wood absorbs moisture, warps over time, and wears with repeated use. One pattern maker I know switched from mahogany to tempered hardboard for a cooling fin pattern because mahogany’s open pores made finishing the thin sections difficult. Material selection at this level requires practical experience.

Plastic patterns bridge the gap between wood and metal. High-density urethane (often called “red board”) machines easily, resists moisture, and holds tolerances better than wood.
Use plastic for up to 5,000 pieces per year. These patterns handle the wear of regular production while costing much less than metal tooling.
Aluminum and cast iron patterns become cost-effective at high volumes where durability matters most. Aluminum patterns last 10,000-100,000 cycles. Cast iron and steel patterns can exceed 1,000,000 cycles.
Use metal for more than 5,000 pieces per year. The higher upfront cost pays off when you need consistent dimensions across years of production.

3D printing has transformed prototype pattern making. What once took 3-4 months with traditional pattern shops now takes 3-4 weeks, a 75% reduction in lead time.
The trade-off is cost at volume. 3D printed patterns become more expensive than traditional methods above roughly 45 units. For prototypes and short runs, the speed advantage often outweighs the per-part premium.
About 25% of U.S. foundries now use or outsource 3D printed patterns, primarily for rapid prototyping and complex geometries that would be difficult to machine conventionally.
Three allowances separate successful patterns from rejected castings: shrinkage, draft, and machining. Specify these correctly, and your castings will meet print dimensions.
Metal contracts as it solidifies and cools. The pattern must be oversized to compensate. Shrinkage varies by alloy:
| Metal | Shrinkage Allowance |
|---|---|
| Gray iron | 0.7-1.0% |
| Steel | 1.5-2.5% |
| Aluminum | 1.0-1.8% |
Pattern makers use “shrink rules” – measuring tools that automatically add the appropriate percentage. Specifying the wrong shrinkage rate is one of the fastest ways to produce castings that don’t fit their assemblies.

Draft angles allow the pattern to release cleanly from the sand. Without adequate draft, pattern withdrawal damages the mold cavity.
Standard draft runs 1.5-3.0 degrees for sand casting. The deeper the feature, the more draft you need. For vertical surfaces exceeding 30mm, add 0.25-0.5 degrees per additional 10mm of height.
Internal surfaces require more draft than external walls, typically an additional 0.5 degrees. The higher friction during pattern withdrawal demands the extra taper.
I’ve seen engineers specify 5 degrees of draft “to be safe,” but excessive draft adds unnecessary weight and material cost. Start with 1.5-2 degrees and increase only where extraction difficulty justifies it.
Castings that require machined surfaces need extra material to remove. Typical machining allowance runs 2-4mm for external surfaces, increasing for larger castings or tighter tolerance requirements.
The allowance depends on the casting process, surface orientation, and expected dimensional variation. Surfaces facing down in the mold typically need more allowance because metal density varies with pour depth.
Pattern design determines casting success before metal ever touches sand. Specify the right type for your geometry, match material to your production volume, and build in proper allowances from the start.
Your next step depends on where you are in the process. If you’re new to casting, review the pattern making fundamentals to understand how patterns translate into molds. If you’re ready to move forward, work with your foundry to validate allowances for your specific application. They’ve likely cast similar parts and can recommend adjustments that drawings alone won’t reveal.