Green Sand vs Resin Sand Casting represents one of the most fundamental choices in metal casting, and the decision directly impacts your product quality, production speed, and overall costs. Green sand casting uses a mixture of sand, clay, and water to create molds, while resin sand casting uses chemically-bonded sand that hardens when mixed with specific resins.
The main difference comes down to this: green sand casting is cheaper and faster for simple parts, but resin sand casting delivers better accuracy and smoother surfaces for complex designs.
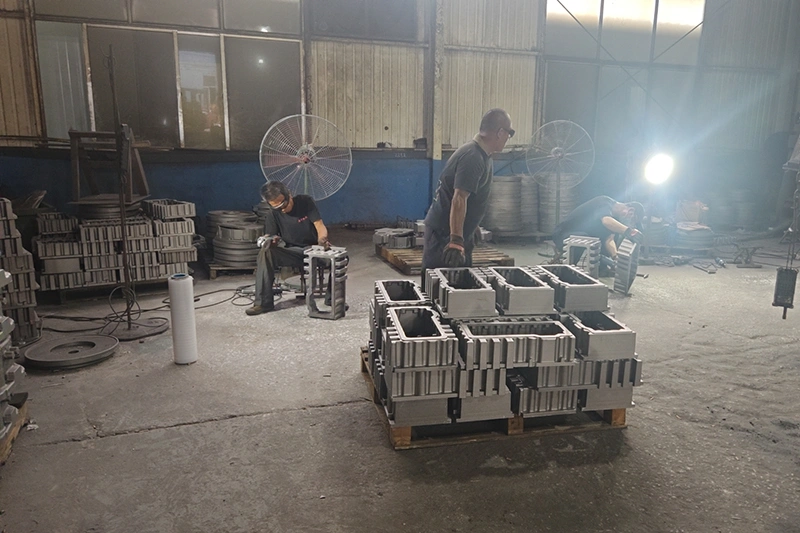
What Is Green Sand Casting
Green sand is a mixture of silica sand (about 85-90%), bentonite clay (7-10%), water (2-4%), and sometimes coal dust or other additives. The name “green” doesn’t refer to the color—it means the sand is moist and hasn’t been dried or baked.
Think of green sand like wet beach sand you’d use to build a sandcastle. The moisture and clay act as glue, holding the grains together just enough to maintain shape when you pack it around a pattern.
This mixture can be reused dozens of times. After you pour the metal and break apart the mold, you simply add a bit more water and clay, mix it up, and it’s ready for the next casting.
Process of Green Sand Casting
Prepare the pattern: Create or select a pattern (usually made of wood, metal, or plastic) that matches your desired part shape. The pattern needs to be slightly larger than your final part to account for metal shrinkage during cooling.
Mix the green sand: Combine silica sand with bentonite clay and water in a muller or mixer. The mixture should hold together when squeezed but crumble easily when broken—this ensures proper mold strength without being too rigid.
Ram the sand around the pattern: Pack the green sand tightly around the pattern in a flask (the metal frame that holds the mold). This step requires consistent pressure to avoid soft spots that could cause defects.
Remove the pattern: Carefully lift the pattern out of the sand, leaving a cavity in the exact shape of your part. Any sudden movements here can damage the delicate sand walls.
Create the gating system: Cut channels in the sand for pouring metal (sprue), distributing it (runners), and feeding the part (gates). These channels control how quickly and evenly the metal fills the mold.
Close the mold: Place the top half of the mold (cope) onto the bottom half (drag). Alignment pins ensure the two halves match perfectly.
Pour the molten metal: Pour metal at the correct temperature and speed into the sprue. Too fast causes turbulence and defects; too slow lets the metal cool before filling the mold.
Allow cooling and solidification: Let the metal cool completely—timing depends on part size and metal type. Rushing this step causes cracks or warping.
Break apart the mold and remove the casting: Shake out the sand and extract your part. The sand falls away easily and can be recycled immediately.
Clean and finish the part: Remove excess metal from gates and runners, then sand or grind any rough spots. Most green sand castings need some finishing work.
Advantages of Green Sand Casting
Low cost: Green sand ingredients cost very little—basic sand, clay, and water are incredibly cheap compared to chemical binders.
Reusable sand: You can recycle the same sand 20-30 times before it needs replacement, dramatically reducing material costs.
Fast production cycles: Molds can be made and broken apart quickly, allowing multiple castings per hour for small parts.
Works with most metals: Green sand handles iron, steel, aluminum, bronze, and brass equally well without special modifications.
Environmentally friendly: No toxic chemicals mean safer working conditions and easier waste disposal.
Simple equipment: You don’t need expensive mixing machines or curing ovens—basic mullers and manual tools work fine for small operations.
Disadvantages of Green Sand Casting
Poor surface finish: Parts come out with a grainy, rough texture that usually needs machining or grinding to smooth out.
Lower dimensional accuracy: Expect tolerances of ±0.5mm to ±2mm, which isn’t precise enough for many modern applications.
Limited complexity: Fine details and thin walls (under 3mm) are difficult because the sand doesn’t hold sharp edges well.
Size limitations for precision: Large castings tend to have more variation because it’s harder to maintain consistent sand properties across big molds.
What Is Resin Sand Casting
Resin sand casting uses silica sand mixed with synthetic resin binders (typically furan, phenolic, or alkaline phenolic resins) that chemically harden to create the mold. The sand grains get coated with a thin layer of resin that acts like super glue when activated by a catalyst or heat.
Imagine mixing sand with a two-part epoxy—once the chemical reaction starts, you get a rock-hard mold that holds precise details. This hardened sand mold is much stronger than green sand and doesn’t contain any moisture.
The result is a mold that captures fine details, maintains exact dimensions, and produces parts with smooth surfaces that often need minimal finishing.
Process of Resin Sand Casting
Select and prepare the pattern: Choose a high-quality pattern (often resin or metal) with excellent surface finish. Any imperfections will transfer directly to your casting since resin sand captures every detail.
Mix sand with resin and catalyst: Combine silica sand with the resin system (usually 1-2% by weight) and catalyst in a continuous mixer. You have limited working time before the mixture starts hardening—typically 3-5 minutes.
Fill the pattern box with resin sand: Quickly transfer the mixed sand into the pattern box or core box. Work fast but avoid creating air pockets that could weaken the mold.
Compact the sand: Use vibration or pressure to ensure complete filling around complex geometries. Unlike green sand, you can’t just ram harder—the resin needs even distribution.
Allow curing time: Let the resin harden completely (anywhere from 30 seconds to several hours depending on the resin type). No-bake resins cure at room temperature; others need heat or gas.
Remove the pattern: Once fully cured, carefully remove the pattern. The hardened sand holds its shape perfectly without any support.
Assemble cores if needed: Position any cores (for hollow sections) precisely in the mold. Resin sand cores maintain exact positioning without shifting.
Apply mold coating (optional): Spray or brush on refractory coatings for even better surface finish. These coatings also prevent metal penetration into the sand.
Close and secure the mold: Join mold halves with adhesive or mechanical fasteners. The rigid mold won’t deform under metal pressure.
Pour the metal: Fill the mold at optimal temperature and rate. The hard mold allows faster pouring without erosion.
Cool and solidify: Allow adequate cooling time based on section thickness. The rigid mold provides consistent cooling rates.
Break out the casting: Use hammers or shakeout equipment to break the hardened sand. It requires more force than green sand but comes off in chunks.
Advantages of Resin Sand Casting
Excellent surface finish: Parts come out smooth enough that many need no additional finishing—saving significant machining time and cost.
High dimensional accuracy: Achieve tolerances of ±0.1mm to ±0.5mm consistently, meeting most engineering specifications without machining.
Complex geometries possible: Create intricate designs, undercuts, and thin walls (down to 2mm) that would be impossible with green sand.
Disadvantages of Resin Sand Casting
Higher material costs: Resin binders cost 10-20 times more than clay, significantly increasing per-part expenses.
Environmental concerns: Many resins release harmful fumes requiring ventilation systems and protective equipment.
Limited sand reuse: Sand can only be reclaimed 3-5 times, and reclamation requires expensive thermal or mechanical equipment.
Longer mold preparation: Mixing, curing, and coating takes more time than simply ramming green sand.
Special equipment needed: Requires continuous mixers, ventilation systems, and sometimes curing ovens—major capital investments.
When to Use Green Sand Casting
Green sand casting excels for large production runs of simple to moderately complex parts where cost efficiency outweighs surface finish requirements. It’s your best choice when producing automotive engine blocks, manhole covers, pipe fittings, and agricultural equipment parts.
Choose green sand when your tolerances allow for ±0.5mm variation and you can accommodate additional machining operations. The process works particularly well for ferrous metals like iron and steel, where the high pouring temperatures don’t cause excessive moisture problems.
When to Use Resin Sand Casting
Resin sand casting becomes essential when your parts require smooth surfaces (Ra < 6.3 μm), tight tolerances (±0.2mm), or complex internal geometries. It’s the preferred method for aerospace components, pump housings, valve bodies, and precision machinery parts.
Select resin sand for thin-walled castings where green sand’s moisture would cause defects or when producing prototype and low-volume parts where the higher per-unit cost is offset by reduced machining. The process also suits non-ferrous alloys like aluminum and magnesium that are sensitive to moisture.