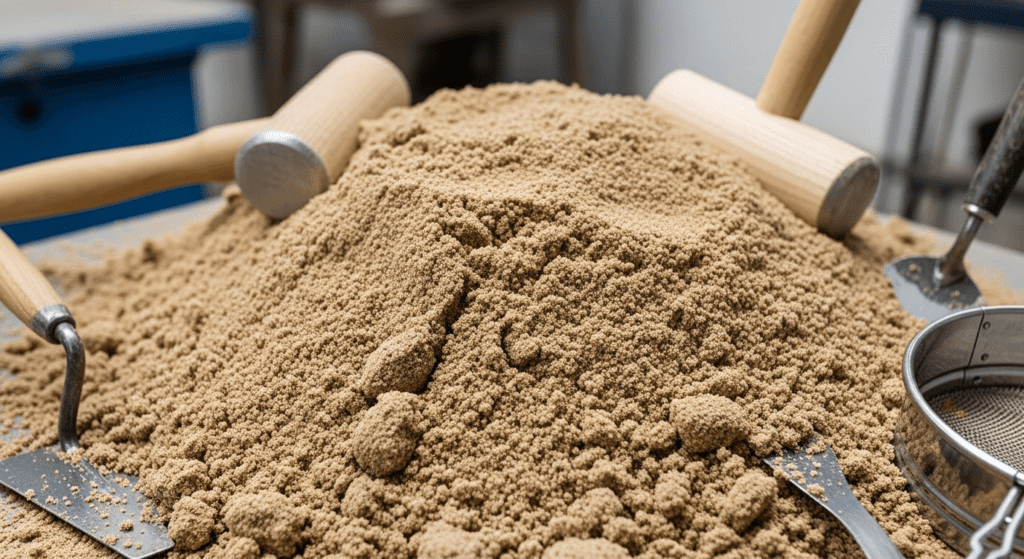
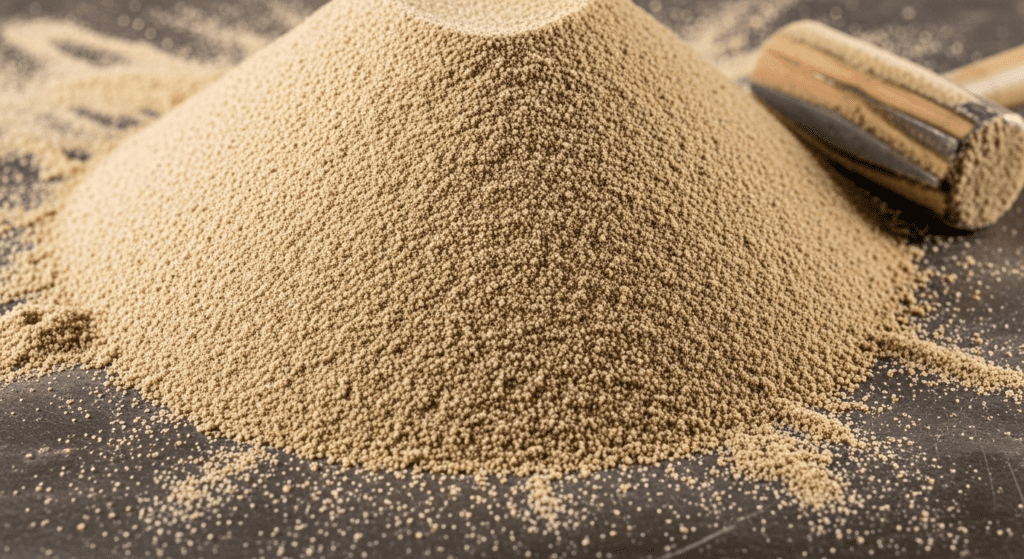
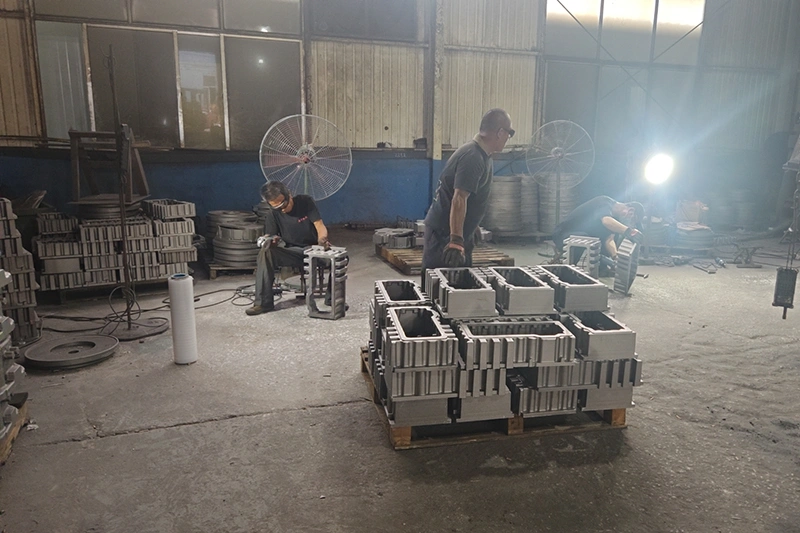
Green sand casting is the most popular and cost-effective method for creating metal parts at home or in small foundries. Despite its name, green sand isn’t actually green—it’s called “green” because the sand is moist when you use it, like green wood that hasn’t dried out yet.
This special mixture of sand, clay, and water creates perfect molds for pouring molten metal. You can make professional-quality castings with just four simple ingredients you can buy at any hardware store.

The classic green sand recipe uses a 10-8-3 ratio that foundry workers have perfected over decades. Here’s exactly what you’ll need:
This recipe makes about 100 pounds of green sand when you use 89 pounds of sand, 10 pounds of clay, and 3-4 pounds of water. That’s enough for dozens of small to medium castings.
Start by collecting fine silica sand, bentonite clay, water, and a large mixing container. You’ll also need a spray bottle for the water and something to mix with—a shovel works for large batches, while a trowel is perfect for smaller amounts.
Pour your sand and bentonite clay into the mixing container. Mix these dry ingredients thoroughly for at least 5 minutes. Any clay clumps will create weak spots in your molds.
Use a riddle (a coarse screen) to break up clay lumps if you see any. This extra step prevents casting defects later.
Spray water over the mixture while continuously mixing. Never dump water in all at once—this creates muddy spots that won’t bind properly.
Add water in three rounds, mixing for 2-3 minutes between each addition. The sand should feel like damp beach sand, not wet concrete.
Grab a handful of sand and squeeze it tightly in your fist. When you open your hand, the sand should hold its shape perfectly.
Now break the clump in half. It should snap cleanly without crumbling. If it crumbles, add more water. If it feels sticky or won’t break cleanly, you’ve added too much water—add more dry sand to fix it.
Let your green sand sit covered for 24 hours before first use. This aging process allows the clay to fully absorb the water and reach maximum strength.
Mix the sand once more before using it. Well-conditioned sand produces sharper details and releases from patterns more easily.
After each casting session, riddle out any metal bits or burnt sand. Add a light spray of water to replace what evaporated during casting.
Store your green sand in sealed containers or covered bins. Plastic storage totes with lids work perfectly and keep the moisture level consistent for months.

Green sand contains bentonite clay that acts as a binder when moistened. Regular sand won’t hold its shape for casting because it lacks this binding agent.
With proper maintenance, green sand lasts indefinitely. Just add water to maintain moisture and occasionally add fresh clay to replace what burns away during casting.
Beach sand usually contains salt and shell fragments that create problems. Stick with clean silica sand from a supplier for consistent, professional results.
You either need more water or more clay. Test by adding water first—if that doesn’t work, your clay content is too low.
Green sand works for aluminum, brass, bronze, and iron. Aluminum is easiest for beginners because it melts at relatively low temperatures.
Use 100-140 mesh sand for detailed work. Coarser 60-80 mesh sand works for larger, simpler castings but won’t capture fine details.

