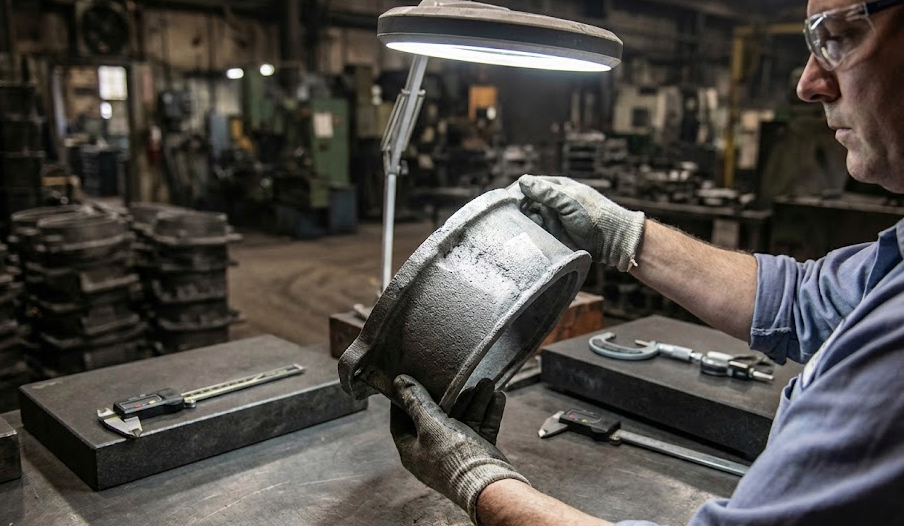
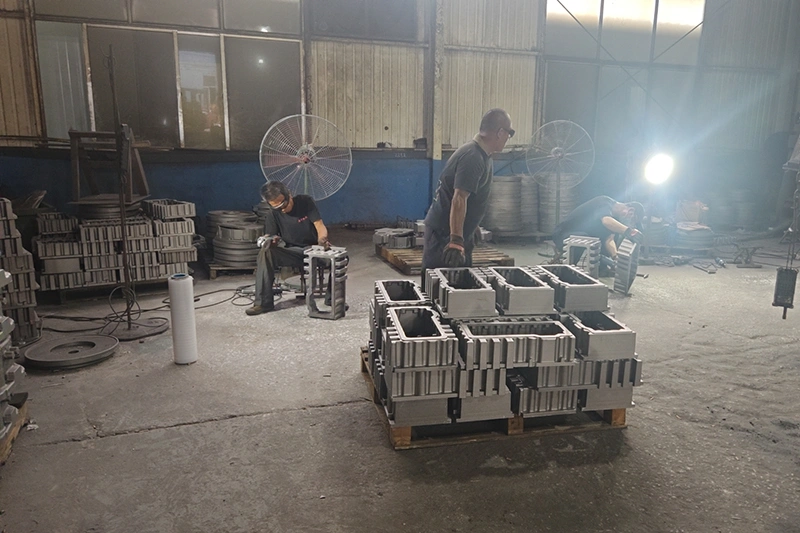
“If you do not have acceptance criteria, you cannot make a call on rejections.” This observation from an NDT forum captures a common frustration among quality engineers. Many foundries reference ASTM or ISO standards generically, but without specific standard numbers and acceptance thresholds, inspectors lack the authority to reject casting defects.
Per ASTM specifications, sand casting inspection follows a tiered approach: visual and dimensional checks first, then surface NDT methods, then volumetric examination for critical applications. Each tier has dedicated standards with specific acceptance criteria that manufacturers and purchasers must agree upon before production begins.
Visual inspection remains the first and most cost-effective quality gate. The inspection protocol should include both surface condition assessment and dimensional verification against drawing tolerances.

ASTM A802 provides 31 visual reference comparator plates organized across eight defect categories: surface texture, sand or slag inclusions, gas porosity, fusion discontinuities, expansion discontinuities, inserts, thermal or mechanical dressing marks, and welds. Four quality levels (I through IV) define increasing stringency, with Level I being most strict.
The standard specifies nothing as acceptable or unacceptable by itself. It provides reference points for manufacturer-purchaser communication. Purchasers indicate category numbers and quality levels on drawings; foundries match production to those requirements. When designers are unfamiliar with the foundry process, they often specify Level I when Level III would suffice, increasing cost without functional benefit.
ISO 8062-3 defines casting tolerance (CT) grades that quantify dimensional accuracy by process capability. Green sand casting typically achieves CT11 to CT14, with tolerances ranging from plus or minus 0.5% to 2.0% of the nominal dimension. Resin-bonded sand tightens this range to CT9 through CT12, achieving plus or minus 0.3% to 1.2%.
For practical application: a 25 to 40 mm dimension at CT9 carries a bilateral tolerance of plus or minus 0.9 mm, giving a total tolerance band of 1.8 mm. Hand moulding achieves grades 11 to 14; machine moulding reaches grades 8 to 12. Wall thickness tolerances are one grade coarser than the main casting grade.
Surface roughness correlates with process selection. Green sand produces Ra 6.3 to 12.5 micrometers; shell mold casting achieves Ra 1.6 to 3.2 micrometers. Machining allowances vary by casting weight: parts under 5 kg require 1.0 to 1.5 mm; parts over 20 kg need 2.5 to 3.5 mm.
NDT methods detect subsurface and internal discontinuities that visual inspection misses. The metallurgical reason for sequencing matters: surface methods must precede volumetric methods because surface-breaking defects can mask or confuse volumetric readings.
Liquid Penetrant Testing (PT) detects surface-breaking discontinuities in any material. Per ASME Section VIII Appendix 7, cracks and hot tears are rejected regardless of dimension. Rounded indications exceeding 5 mm (3/16 inch) are rejected. For castings under 19 mm (0.75 inch) thickness, linear indications cannot exceed 6.4 mm (1/4 inch). Relevant indications are those greater than 1.5 mm (1/16 inch).
Magnetic Particle Testing (MT) applies only to ferromagnetic materials but offers subsurface detection to approximately 0.08 mm (0.003 inch) depth, with detection range extending to 0.07 inch below the surface. ASTM E125 provides 37 reference photographs showing five severity degrees for each discontinuity type, except porosity which has two examples. Severity degrees do not correlate across discontinuity types: degree 3 of one type does not equal degree 3 of another. Some purchasers add dimensional limits (cracks not exceeding 1/2, 1/8, or 1/16 inch) to reduce interpretation variance.
Radiographic Testing (RT) reveals internal discontinuities through X-ray or gamma radiation. ASTM reference radiograph standards are thickness-tiered:
| Standard | Thickness Range | Application |
|---|---|---|
| ASTM E446 | Up to 2 in. (50.8 mm) | Steel castings, standard wall |
| ASTM E186 | 2 to 4.5 in. (50.8-114 mm) | Heavy-walled steel castings |
| ASTM E280 | 4.5 to 12 in. (114-305 mm) | Very thick sections |
Each standard provides severity levels 1 through 5, with level 1 being most restrictive. Graded radiographs serve as basis for agreement on minimum acceptability. One foundry producing a 2,500-pound closed impeller required 120 X-ray views across three test castings; one of three was found defective and the other two shipped with minimal rework.
Ultrasonic Testing (UT) per ASTM A609 specifies probe size not exceeding 32 mm (1.25 inch) diameter with linearity within plus or minus 5%. UT works best on geometrically simple sections with good acoustic access. Complex shapes with thin walls or abrupt transitions limit UT effectiveness compared to RT.
No universal porosity threshold exists. As one practitioner noted, “Technically any amount of porosity is perfectly acceptable if you have no quality standard.” Casting quality varies greatly, as do acceptance criteria. The inspection plan must define specific limits before production.
General Commercial Castings typically reference A802 Level III or IV for visual acceptance and CT12 to CT14 dimensional grades. NDT may be sampling-based or not required.
Pressure-Containing Castings under ASME Section VIII require 100% surface examination (PT or MT) with the acceptance criteria noted above. Radiographic examination applies to welds and critical sections, with severity level agreements specified per purchaser requirements.
Aerospace Castings require Nadcap accreditation per AC7142 audit criteria. The program mandates certified NDT personnel at ASNT Level II minimum for interpretations. Audits may include up to 25 shorter in-process job audits beyond the main system audit. Three certification levels exist: Level I performs specific tests under supervision following work instructions; Level II sets up equipment, conducts inspections per codes, and writes procedures for Level I; Level III develops procedures and interprets codes.
Start by matching inspection requirements to functional criticality. A pump housing operating at 150 psi demands different scrutiny than a decorative bracket. Define acceptance criteria on drawings using specific standard references: “Visual per A802, Category 1-4, Level III” rather than “no visible defects.”
Sequence inspections logically. Visual and dimensional checks catch obvious rejects before investing in NDT. Surface methods (PT for all materials, MT for ferromagnetics) precede volumetric methods. Reserve RT and UT for critical castings where internal soundness affects service life.
Once defects are found and documented, the next step is root cause analysis. Recurring shrinkage defects point to gating or riser design issues. Gas porosity patterns indicate mold moisture, metal temperature, or pouring practice problems. The inspection record becomes the input for process improvement, connecting quality control to foundry metallurgy.

