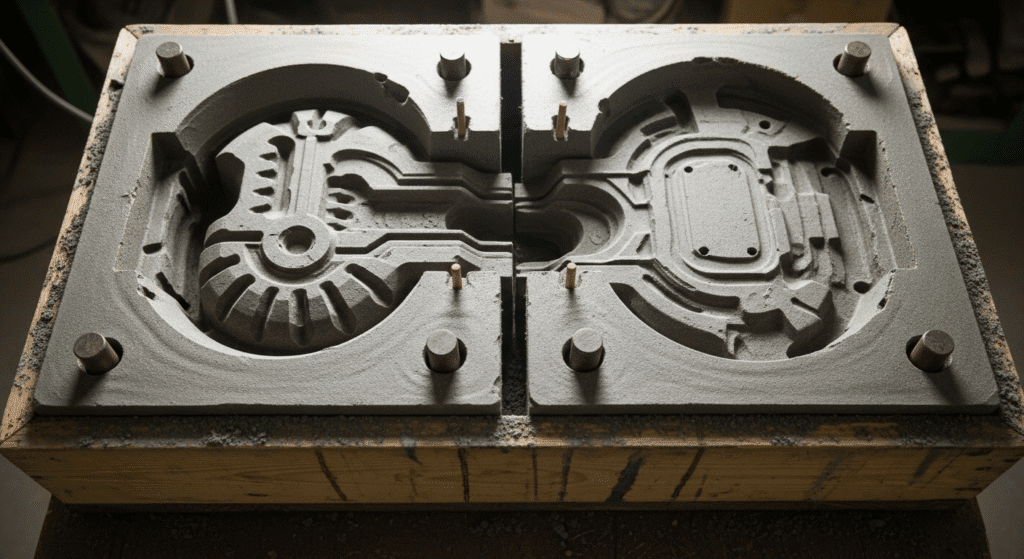
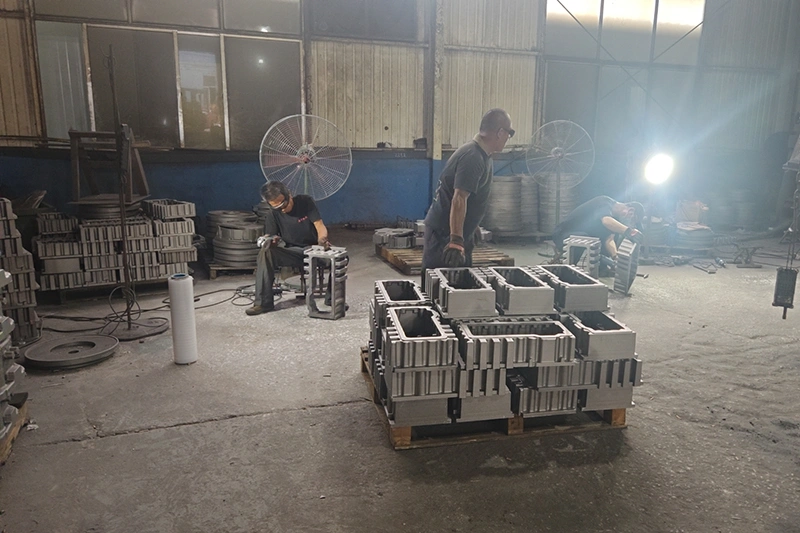
Sand casting mold making is one of the oldest and most versatile metal forming techniques you can learn. You create a cavity in sand that matches your desired part, pour in molten metal, and get a solid casting when it cools. It’s like making a sandcastle at the beach, except you’re creating precise shapes that can become engine blocks, decorative art pieces, or machine parts.

Your pattern is the master shape that creates the cavity in your sand mold. Think of it as the stamp that makes the impression – whatever shape your pattern has, that’s what your final metal part will look like.
Choose a pattern that’s slightly larger than your final part to account for metal shrinkage during cooling. Wood patterns work great for beginners, while aluminum or resin patterns last longer for repeated use.
The pattern needs draft angles (slight tapers) of about 1-3 degrees so you can pull it out of the sand without damaging the mold walls. Imagine trying to pull a straight-sided bucket out of wet sand – it won’t work without those angled sides.
The flask is simply a two-part wooden or metal frame that holds your sand. The bottom half is called the drag, and the top half is the cope. Clean out any old sand and debris.
Place your pattern on a flat board inside the drag. If you’re making something like a gear, lay it flat side down.
For split patterns (patterns that come apart in two pieces), put the bottom half in the drag now. You’ll add the top half later when working on the cope.
Dust the pattern with parting powder – usually talc or graphite.
For lightweight patterns that might shift, use a small dab of double-sided tape or clay to hold them in place temporarily.
Now you’ll pack special molding sand around your pattern to create the mold cavity. This sand isn’t beach sand – it’s a mixture of silica sand, clay, and water that holds its shape when compressed.
Start by sifting a thin layer of fine sand directly onto the pattern. This riddled sand captures fine details better than coarse sand.
Add sand in 2-inch layers rather than dumping it all at once. Each layer needs proper compaction.
Use a rammer (a tool that looks like a oversized pestle) to compress each layer firmly. Start gently around the pattern to avoid shifting it, then pack harder as you build up.
The sand should feel firm like packed brown sugar, not loose like beach sand.
Once the drag is full, use a straight edge to scrape off excess sand level with the top of the flask.
Some casters poke small vent holes with a wire at this point. These let steam and gases escape during pouring, preventing bubbles in your casting.
Place a board on top of the leveled sand and carefully flip the entire drag over. Your pattern is now facing up, ready for the cope half.
The gating system is the plumbing of your mold – channels that guide molten metal into the cavity. Without proper gates, the metal won’t fill your mold evenly.
The sprue is where you pour metal in, and risers are reservoirs that feed extra metal as the casting shrinks. Mark these spots with wooden pegs or dowels pressed into the sand.
Place the sprue near the thickest part of your pattern. Risers go at high points where metal might not reach or where shrinkage is likely.
Carve small funnel-shaped depressions around your sprue and riser markers. These wells make pouring easier and reduce turbulence.
Use a gate cutter or small trowel to carve a channel from the sprue to your pattern cavity. This runner should enter the cavity at its lowest point to minimize splashing.
Keep the runner about 1/4 inch deep and wide for small castings, larger for bigger pieces.
Blow out any loose sand from the channels you’ve cut.
Apply another light dusting of parting powder over the entire drag surface, including the newly cut channels.
The cope creates the top half of your mold cavity. This step mirrors what you did with the drag, but with a few key additions.
Place the cope flask on top of the drag, aligning the guide pins if your flask has them. The two halves should fit together snugly.
Dust the exposed pattern and drag surface with parting powder again.
Pack sand exactly as you did with the drag – riddled sand first, then layers, then ramming. Be extra careful not to disturb the pattern or channels below.
Once the cope is packed and leveled, carefully twist and pull out the wooden pins you placed for sprues and risers. These leave vertical channels for pouring metal.
Poke vent holes throughout the cope with a wire, stopping just short of the pattern. More vents mean fewer defects from trapped gases.
This is the moment of truth – you’ll open the mold and remove the pattern to reveal the cavity.
Lift the cope straight up, keeping it level. Any tilting can cause sand to fall into the drag cavity.
Set the cope aside carefully, cavity-side up.
Tap the pattern gently to loosen it, then lift it straight out. If it sticks, thread a screw into the pattern to use as a handle.
If you used a split pattern, remove the top half from the cope the same way.
Check both halves for damaged edges, loose sand, or collapsed sections. Small defects can be repaired with a spoon and water.
Blow out any loose sand from the sprue, runners, and risers. Clear vents ensure good gas escape.
Use small tools to repair any damaged edges or add features the pattern couldn’t create.
Mold wash improves surface finish and prevents sand from sticking to your casting. It’s like non-stick spray for your mold.
Graphite wash works for iron and steel. Zircon wash handles high temperatures best.
The mold cavity must be completely dry. Wet sand will cause the wash to run and pool.
Apply a thin, even coat with a soft brush or spray bottle. Too thick and it will flake off into your casting.
Let it air dry or use a torch to speed drying. The coating should look uniform and slightly shiny.
Check for runs, bare spots, or thick buildup. Touch up as needed.
You’re almost ready to pour metal. These final steps ensure everything stays in place during casting.
Cores create hollow sections in your casting. Position them carefully using the core prints (indentations) in your mold.
Lower the cope back onto the drag, aligning it exactly as before. Misalignment creates stepped or shifted castings.
Molten metal creates pressure that can lift the cope. Use C-clamps or heavy weights to keep it closed.
For a 10-pound casting, use at least 30 pounds of weight.
Double-check that all vents are clear. Poke additional vents if you see areas that might trap gas.
Set your mold on a bed of dry sand to catch any metal leaks. Have all safety gear ready – molten metal is unforgiving.
Pour molten metal steadily into the sprue until it fills the entire mold. Start with a thin stream to avoid washing sand into the cavity, then increase flow rate.
Keep pouring until metal appears in the risers. This confirms the entire cavity is full.
Stop pouring when the sprue basin stays full – your mold is complete.
The waiting is the hardest part, but rushing this step ruins all your work.
Let the casting cool completely before breaking the mold. Small castings need 30 minutes; large ones need several hours.
The metal should be cool enough to handle with bare hands.
Shake out the sand by breaking apart the flask and dumping the sand. The casting will fall out with the sand.
Save the sand – you can recondition and reuse it many times.
Your casting is now ready for cleanup, which involves cutting off the sprue and risers, grinding smooth any rough spots, and finishing to your desired specifications.

