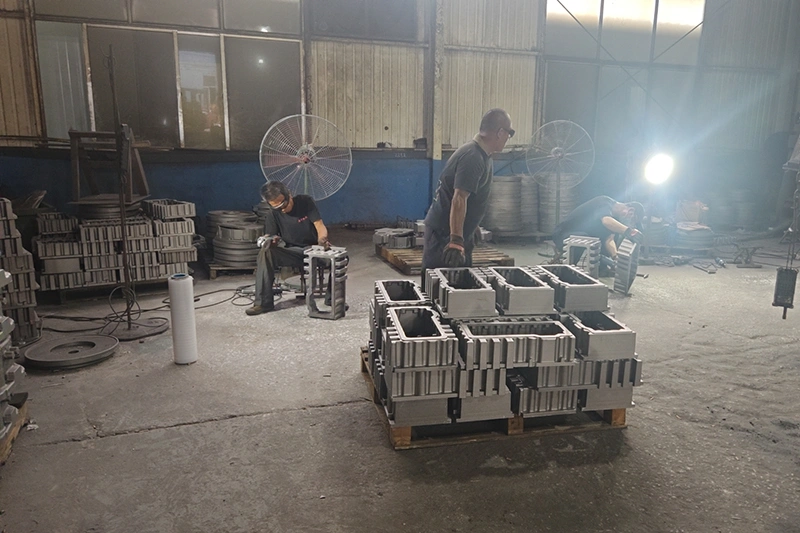
The sand casting procedure transforms molten metal into complex shapes using sand molds, making it one of the most versatile and cost-effective manufacturing methods available today. This ancient technique, refined over thousands of years, produces everything from engine blocks to decorative art pieces.
Whether you’re curious about manufacturing or planning your first casting project, understanding each step will help you appreciate why this method remains essential in modern industry.

Every sand casting starts with a pattern—an exact replica of the part you want to make, but slightly larger to account for metal shrinkage during cooling. You’ll typically make patterns from wood, plastic, or metal, depending on how many parts you need. Think of it like making a sandcastle: the pattern is your bucket that creates the shape in the sand.
Patterns come in two main types: solid patterns for simple shapes and split patterns for complex geometries. Split patterns divide into two halves, making it easier to remove them from the sand without damaging the mold. You’ll add special features called draft angles (slight tapers) to help pull the pattern out cleanly, just like how ice cubes pop out easier from trays with angled sides.
You’ll pack specially prepared molding sand—a mixture of silica sand, clay, and water—around the pattern inside a two-part metal frame called a flask. The top half is the cope, and the bottom half is the drag.
Start by placing the drag upside down and positioning half of your split pattern on a flat surface. Dust the pattern with parting powder (like talcum) to prevent sticking. Pack the sand firmly around the pattern, starting with a fine layer against the pattern surface and following with coarser backing sand.
You’ll create channels in the sand including the sprue (vertical entry point), runners (horizontal distribution channels), and gates (connections to the actual part cavity). This network acts like the plumbing in your house, directing metal flow while filtering out impurities.
Position the sprue to create smooth, turbulence-free flow—turbulent metal traps air and creates defects. Add risers (reservoirs of molten metal) at thick sections of your casting to feed shrinkage as the metal cools. Without proper risers, you’ll get shrinkage cavities that weaken the part. The entire system must fill the mold quickly enough to prevent premature cooling but gently enough to avoid erosion of the sand walls.
First, gently rap the pattern to break the sand’s grip—this creates a tiny gap all around.
After removing patterns, you’ll cut the gating system channels using special tools, position any cores (sand shapes that create internal cavities), and rejoin the cope and drag. Cores sit in precisely located prints (recesses) that hold them in place against the buoyant force of liquid metal.
Apply a mold coating or wash to the cavity surfaces for better surface finish and easier metal release. Close the mold carefully, ensuring perfect alignment using guide pins. Misalignment creates steps or fins in your casting. Finally, weigh down or clamp the cope to prevent it from floating when you pour the metal—liquid metal is heavy and creates significant upward pressure.
Metal preparation involves heating your chosen alloy beyond its melting point in a furnace, then transferring it quickly to the mold. Different metals require different temperatures—aluminum melts around 660°C, while steel needs 1,500°C or higher. You’ll add deoxidizers and degassing agents to remove impurities that cause porosity and weakness.
Pour steadily into the sprue, maintaining a constant stream to prevent air entrapment. Watch for the risers to fill—they signal complete mold filling. Stop pouring once metal appears at the riser tops, as excess weight could crack the mold.
Cooling time depends on metal type, casting size, and section thickness. Thin aluminum parts might solidify in minutes, while thick iron castings need hours. During cooling, the metal contracts, pulling liquid from the risers to prevent shrinkage defects. You’ll hear crackling sounds as the sand mold expands from heat, then contracts during cooling.
Resist the temptation to break the mold too early. Premature shakeout causes hot tears (cracks from constrained contraction) or distortion. Use the rule of thumb: wait until the risers show a slight depression on top, indicating complete solidification. For critical castings, follow calculated cooling curves based on the metal and geometry.
Shakeout liberates your casting from the sand mold using vibration, impact, or manual methods. Start by breaking away the bulk sand with hammers or shakeout machines that vibrate violently. The sand falls away, revealing your rough casting still attached to the gating system. Most sand can be reclaimed—it’s cleaned, re-moistened, and reused for the next mold.
Cut off the gating system and risers using saws, torches, or grinding wheels. Remove adherent sand and scale through shot blasting (bombarding with steel shot), tumbling, or chemical cleaning.
Grinding eliminates parting lines (raised edges where cope met drag) and gate connections. Some castings need heat treatment to relieve stresses or improve mechanical properties. Machining adds precise features like threaded holes or bearing surfaces that can’t be cast directly. Finally, apply protective coatings or aesthetic finishes based on the part’s intended use.

